

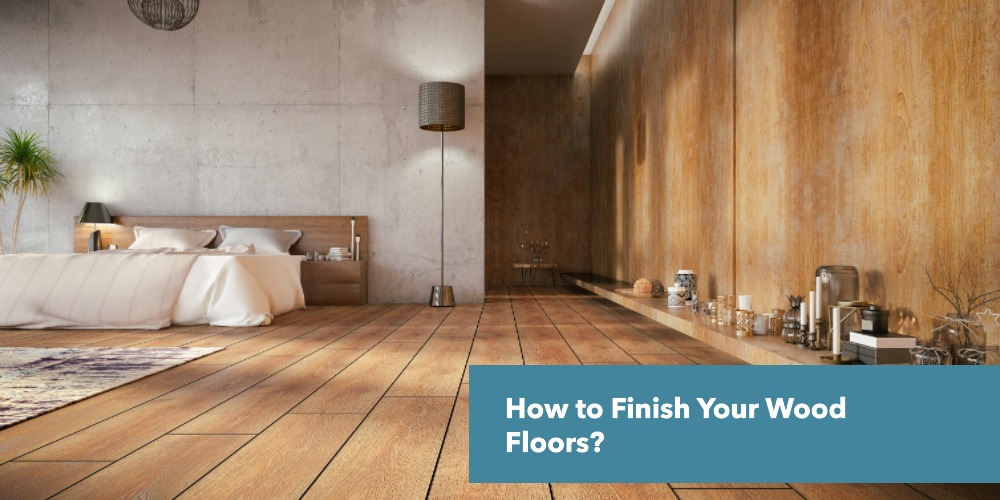
To finish wood floors, start by preparing the room, sanding the floor, applying a stain (optional), and then sealing it with a protective finish. This process can be completed as a DIY project or by professionals, with specific steps varying based on the wood type and desired finish. However if you are looking for the professional engineered wood flooring installers , Please be sure to contact our team and we will help you according to your needs.
Step-by-Step Guide to Finish Your Wood Flooring:
Prepare the Room:
Before starting, clear the room of any furniture and cover vents or doorways with plastic sheeting to prevent dust from spreading.
Ensure the room temperature is between 60°F and 75°F (16°C to 24°C) to ensure optimal curing.
Sand the Wood Floor:
Use a drum sander to sand the wood. Start with a coarse-grit sandpaper (e.g., 36 or 40 grit) to remove any imperfections or old finishes.
Progress to medium-grit sandpaper (e.g., 60 or 80 grit) to smooth the surface, and then finish with a fine-grit sandpaper (e.g., 100 or 120 grit) for a smooth, even texture.
Make sure to sand in the direction of the wood grain to avoid any visible scratch marks.
Vacuum the dust thoroughly and wipe the floor with a tack cloth to remove any remaining dust particles.
Choose the Right Finish:
You can opt for an oil-based polyurethane, water-based polyurethane, or natural finishes like wax or oil.
Oil-based polyurethane is durable and gives a warm amber tone but takes longer to dry (8-10 hours for the first coat).
Water-based polyurethane dries faster (about 2-4 hours) and has a clearer finish, but may not be as durable as oil-based polyurethane.
Wax or oil finishes are natural but may need reapplication more frequently.
Apply the Finish:
Use a high-quality applicator, such as a brush, roller, or lamb’s wool applicator, to apply a thin, even layer of finish.
Start at the farthest corner and work towards the exit, ensuring no overlapping or heavy spots.
Allow the first coat to dry completely according to the manufacturer’s recommendations (typically 4-6 hours for water-based and 8-10 hours for oil-based).
Once dry, lightly sand the surface with fine-grit sandpaper (220-grit) to remove any dust or imperfections, then clean the floor with a vacuum or cloth.
Apply Additional Coats:
Apply 2-3 additional coats of finish, sanding lightly between each coat. For oil-based finishes, 3-4 coats are often recommended for durability.
Be sure to let each coat dry properly before applying the next one.
Cure the Floor:
After the final coat of finish has dried, allow the floor to cure for at least 24 hours before walking on it.
For full curing, it may take up to 7 days, depending on the type of finish used. During this time, avoid placing heavy furniture on the floor.
Maintain the Floor:
Regularly clean the floor with a soft microfiber mop to avoid scratches. Avoid using water or harsh chemicals that may damage the finish.
Consider reapplying a fresh coat of finish every few years, depending on the wear and tear.
By following these steps, you’ll ensure that your wood flooring not only looks stunning but is also protected for the long term.
How Long Does Your Wood Floor Shine?
The shine on your wood floor can last anywhere from 1 to 5 years, depending on the type of finish used, the level of foot traffic, and how well the floor is maintained. Oil-based polyurethane finishes typically last longer (3-5 years), while water-based finishes may require reapplication every 1-3 years. Regular cleaning and proper care can help extend the shine and durability of the finish.
How to Restore Wood Floors Without Sanding?
You can restore wood floors without sanding if the damage is limited to the finish layer and the wood itself is still in good condition. The process usually involves cleaning, repairing minor imperfections, and applying a new protective coating.
Start by thoroughly cleaning the floor to remove dirt, grease, and residue that can make the surface look dull. Once dry, inspect the floor for scratches, worn areas, or small gaps. Light scratches can often be improved with a wood floor refresher, polish, or a manufacturer-approved restoration product.
For floors with more noticeable wear, a screen-and-recoat method is often used. This lightly abrades the existing finish to help the new coating bond, without removing the wood layer like full sanding does. A fresh coat of polyurethane or another compatible finish can then restore shine and protection.
Keep in mind that no-sanding restoration will not fix deep scratches, water damage, warped boards, or areas where the wood is exposed. Those problems usually require more extensive repair.
How Long Does it Take Refinish Wood Floors?
Refinishing wood floors typically takes about 3 to 5 days. Here’s the breakdown:
Sanding: 1 day – The old finish is sanded off, which can take a full day depending on the floor size.
Applying Finish: 1-2 days – This includes applying 2-3 coats of finish, with drying times between each coat (usually 4-6 hours for water-based and 8-10 hours for oil-based).
Curing Time: 1-2 days – After the final coat, the floor needs at least 24 hours to dry before light foot traffic, and full curing can take up to a week.
If done professionally, this process may be faster, but if it’s a DIY project, it could take a bit longer due to drying and curing times.
How Long Do You Have to Stay Off Hardwood Floors After Refinishing?
After refinishing hardwood floors, you usually need to stay off them for at least 24 hours, but the exact time depends on the type of finish used.
Water-based polyurethane: You can usually walk on the floor with clean socks after about 24 hours. Furniture can often be moved back after 2–3 days, but rugs should wait around 7 days.
Oil-based polyurethane: It typically needs longer drying time. Light foot traffic is usually allowed after 24–48 hours, while furniture and rugs may need to wait 3–7 days.
Hardwax oil finishes: These can require a few days before normal use, depending on the product.
The reason for waiting is that the finish may feel dry on the surface but still be curing underneath. Placing heavy furniture, rugs, or allowing pets on the floor too soon can leave marks, trap moisture, or damage the new coating.
What Are The Mistakes To Avoid When Refinishing Wood Floors?
When refinishing hardwood floors, avoid mistakes such as improper sanding, applying thick coats of finish, skipping cleaning between layers, and not allowing sufficient drying and curing time to ensure a smooth, durable, and professional result.
Mistakes to Avoid When Refinishing Wood Flooring
Here are the top mistakes to avoid when refinishing hardwood floors:
Not Sanding Properly: Skipping or rushing the sanding process can leave an uneven surface, which will affect the finish. Always sand thoroughly to remove old finish and smooth the wood.
Using the Wrong Sandpaper Grit: Starting with too fine of a grit can prevent proper adhesion of the finish, while too coarse of a grit can damage the wood. Use a progression of grits, starting with a coarser one (e.g., 36 or 40 grit) and ending with fine grit (100-120).
Skipping Floor Cleaning Between Coats: Dust and debris can settle on the surface during sanding and between finish layers. Clean the floor carefully with a vacuum and tack cloth before applying any finish.
Applying Finish Too Thickly: Thick layers of finish can lead to streaks, uneven drying, and a sticky surface. Apply thin, even coats and allow each layer to dry before adding another.
Not Allowing Sufficient Drying Time: Rushing the drying time between sanding and applying new coats of finish can ruin the surface. Follow the recommended drying times (typically 4-6 hours for water-based finishes and 8-10 hours for oil-based finishes).
Inadequate Ventilation: Poor air circulation during sanding and finishing can lead to dust buildup and improper drying. Make sure the room is well-ventilated, and use fans to improve airflow.
Walking on the Floor Too Soon: Walking on the floor before it’s fully cured can leave impressions and damage the finish. Allow the floor to dry for at least 24-48 hours before light foot traffic, and up to 7 days for full curing.
Using Low-Quality Products: Using cheap brushes, rollers, or sandpaper can lead to uneven coverage and poor results. Invest in high-quality tools to ensure a smooth, professional finish.
Not Choosing the Right Finish: Different finishes (oil-based, water-based, wax) have distinct qualities. Make sure you choose the right finish based on your wood type and desired outcome, such as durability or a natural look.
Over-sanding Edges and Corners: Sanding too aggressively on edges and corners can create uneven surfaces or dull spots. Be gentle and take extra care with those areas.
What Are the Best Cleaners for the Engineering Wood Flooring?
The best cleaners for engineered wood flooring are pH-neutral, water-based cleaners specifically made for hardwood floors. These products remove dirt and everyday buildup without damaging the protective finish or causing moisture-related issues.
Avoid harsh cleaners such as bleach, ammonia, abrasive powders, and excessive vinegar solutions because they can weaken the finish over time. Engineered wood has a real hardwood surface layer, so it needs the same careful cleaning approach as solid hardwood.