

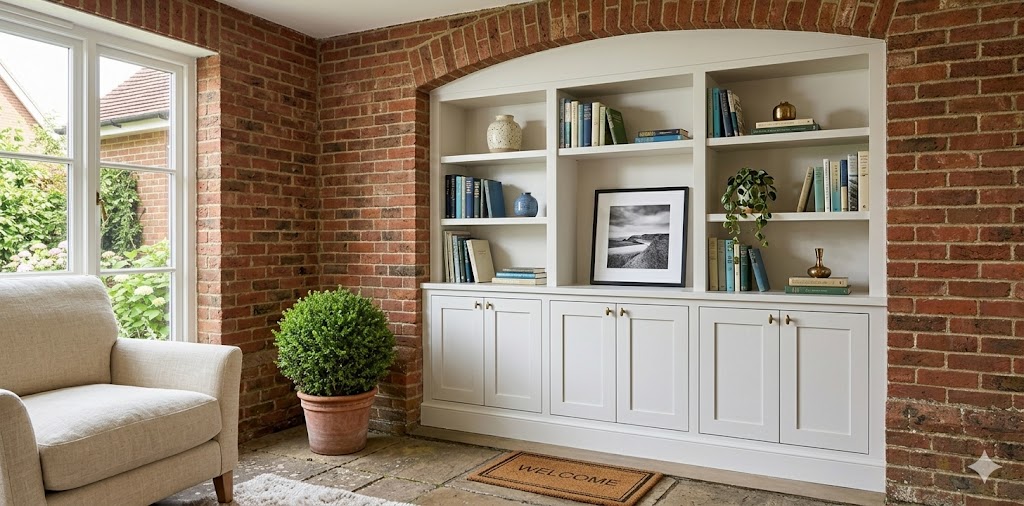
To build alcove units, first measure the alcove accurately, create a strong base frame, build the cabinet structure, install shelves or doors, and finish the unit with paint or trim for a built-in look. Alcove units are usually made from MDF, plywood, or timber framing and are designed to use unused wall spaces for storage while blending with the room.
A well-built alcove unit should be level, strong, and fitted tightly to the walls because most alcoves are not perfectly square. Taking accurate measurements before cutting materials is the most important step.
1. Measure the Alcove Space
Start by measuring the full alcove area before designing the unit.
Measure:
- Width at the top, middle, and bottom
- Height on the left, centre, and right side
- Depth from the back wall to the front edge
- Position of sockets, pipes, skirting boards, and existing features
Use the smallest measurement when planning the cabinet size because walls can slightly slope or curve. This prevents the unit from being too large to fit.
Common Alcove Unit Measurements:
| Part | Typical Size |
|---|---|
| Cabinet depth | 300–450 mm |
| Shelf thickness | 18–25 mm |
| MDF sheet thickness | 18 mm commonly used |
| Plinth height | 80–120 mm |
| Door gap | Around 2 mm between doors |
The final size depends on the room and storage requirements.
2. Choose the Alcove Unit Design
Decide what type of storage you need before building.
Common designs include:
Base Cabinet With Shelves Above
Most popular option for living rooms.
Includes:
Lower cupboards for hidden storage
Open shelves for books and decoration
Full Height Alcove Unit
Uses the complete wall height.
Best for:
Extra storage
Home offices
Libraries
Floating Shelves
Suitable when only display storage is required.
TV Alcove Unit
Designed around:
TV size
Media equipment
Cable management
3. Prepare the Materials and Tools
Materials Required:
- 18 mm MDF or plywood sheets
- Timber battens (for support frame)
- Wood screws
- Wood glue
- Hinges
- Handles
- Shelf supports
- Wood filler
- Primer and paint
- Caulk for finishing gaps
MDF is commonly used because it provides a smooth surface for painting, while plywood offers more strength for heavier storage.
Tools Required:
- Tape measure
- Spirit level
- Drill
- Screwdriver
- Saw
- Sandpaper
- Clamps
- Paint roller and brush
4. Build the Base Plinth
The plinth is the raised base that supports the cabinet.
Procedure:
- Cut timber battens to create a rectangular frame.
- Fix the frame to the floor.
- Check that it is completely level.
- Use packing pieces if the floor is uneven.
- Secure the frame using suitable screws.
A level base is important because any unevenness will affect the cabinet doors and shelves.
A typical plinth height is around 80–120 mm, which also allows the unit to match existing skirting boards.
5. Build the Cabinet Frame (Carcass)
The carcass is the main box structure of the alcove unit.
Procedure:
- Cut the side panels, top panel, and base panel according to measurements.
- Drill pilot holes before inserting screws.
- Apply wood glue to joints for extra strength.
- Fix panels together to create a square cabinet box.
- Check the corners using a spirit level.
For a strong cabinet:
- Use 18 mm MDF or plywood panels
- Keep shelves supported at regular intervals
- Add extra support for heavy items
6. Install Shelves Inside the Unit
Shelves can be fixed or adjustable.
Fixed Shelves:
Best for:
- Decorative storage
- Heavy items
Adjustable Shelves:
Use:
- Shelf pins
- Metal shelf strips
- Adjustable brackets
Recommended shelf spacing:
- Books: around 250–350 mm
- Decorative items: around 300–400 mm
For longer shelves, add front support strips to prevent bending.
7. Add Cabinet Doors (If Required)
For closed storage, install doors on the lower section.
Procedure:
- Measure the cabinet opening.
- Cut or purchase doors according to the required size.
- Install concealed hinges.
- Adjust hinges until gaps are even.
- Add handles.
Leave around a 2 mm gap between doors so they open and close smoothly.
8. Fit the Unit Into the Alcove
Once the cabinet is built:
- Position the unit inside the alcove.
- Check it is level from side to side and front to back.
- Secure it to the wall where required.
- Add filler panels to close gaps between the cabinet and walls.
Because alcove walls are rarely perfectly straight, filler panels help create a seamless built-in appearance.
9. Add Finishing Details
The final details make the unit look professionally built.
Complete these steps:
- Fill screw holes with wood filler.
- Sand all surfaces smoothly.
- Apply paintable caulk around wall joints.
- Apply primer.
- Add two coats of furniture or satin paint.
For painted MDF units:
- Primer: 1 coat
- Paint: 2 coats minimum
- Drying between coats: usually 4–8 hours depending on paint type
10. Check the Final Unit
Before using the alcove unit:
- Check all doors open smoothly
- Confirm shelves are level
- Make sure the unit does not move
- Check paint has fully dried
- Test storage weight carefully