


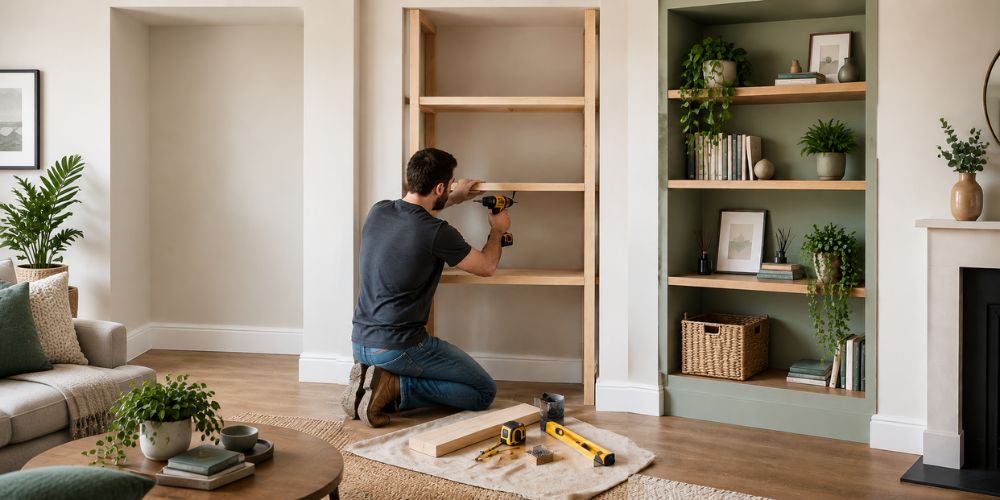
Walk into a Dublin sitting room with a chimney breast and there’s a decent chance the alcove beside it is doing nothing. A lamp, maybe. A stack of magazines nobody’s read since Christmas. That dead patch of wall is one of the easiest wins in the whole house once proper shelving goes in.
It isn’t a difficult job, not for a straightforward version anyway. Horizon Bespoke Joinery fits the built-in kind across the city most weeks, but plenty of homeowners manage a solid version themselves with an afternoon, a decent board and a level that actually holds true.
Why Alcoves Are Made for This?
Three walls already do most of the structural work. No need to build a box that stands on its own, the recess handles that. In a lot of older Dublin houses, Victorian terraces especially, the space either side of a chimney breast runs deep, often close to 120cm, which is plenty for books or a media setup.
The one catch: those walls are almost never straight. Plaster bulges. Corners lean a degree or two out of square. Skirting depth shifts from one side of the room to the other. None of that is a real problem once it’s measured properly, but treating both walls as identical is the mistake almost everyone makes on their first attempt.
What to Gather Before Starting?
Firstly, there can be some tools that can separate a shelf that lasts from one that wobbles within a year.
- A cable and pipe detector, worth the ten minutes it costs
- A stud finder, if the alcove backs onto a stud wall rather than masonry
- A decent spirit level and tape measure
- A drill, masonry and wood bits, wall plugs, screws
- Timber battens, around 2×2 inches, for the support frame
- Plywood or MDF, 18mm minimum, for the shelves themselves
- A saw, sandpaper, wood glue
Anything wider than about 90cm wants at least 22mm board. Go thinner and it’ll bow within the year, especially once a shelf full of hardbacks sits on it.
Building It, Step by Step
Pick the Board First
Plywood is the strongest all-round option. It resists warping and holds a screw properly. MDF is cheaper and takes paint beautifully, but it sags faster under weight unless the span stays short. Solid timber suits period skirting best, though it costs more and needs sealing on every face or it’ll move with the damp. For a shelf that’s going to carry a full run of hardbacks, plywood earns its keep.
Measure Every Side, Not Just One
Take the width at the top, the middle and the bottom. Take the depth on both the left and right walls too. It’s common for these numbers to differ by a centimetre or more, sometimes two. Always work from the smallest figure. A shelf cut to the wider measurement simply won’t go in.
Build the Batten Frame
Mark a level line at each shelf height with the spirit level, never by eye no matter how confident the hand looks. Fix a batten along the back wall first, into masonry with plugs or into studs if the wall’s timber framed. Add the side battens next, checking each sits level against the back one before a single screw goes in.
Cut and Fit the Shelves
Cut each board a touch oversized, then trim and scribe it against the wall where the plaster runs uneven. Rest it on the battens and fix from above or below, keeping the screws out of sight wherever that’s possible.
Sand, Finish, Wait
Sand the edges smooth, then paint, varnish or oil to match the room. The temptation is to load the shelf the same afternoon. Don’t. A finish that hasn’t cured properly marks the first time a book gets dragged across it.
Where People Go Wrong?
Skipping the cable check is the expensive one, drilling into a hidden wire costs a lot more than the ten minutes it would have saved. Guessing the measurements instead of checking both sides comes a close second. Thin board on a wide span is third on the list. A shelf screwed only into plaster, rather than masonry or a stud, will eventually work loose no matter how careful the finish looks.
Conclusion
A DIY shelf handles a straightforward alcove and modest storage needs just fine. Once the brief turns into a proper fitted look, with shelving wrapped around a bespoke media unit or matched exactly to existing skirting and cornicing, the job gets a lot less forgiving. Scribing a full-height run against a wall that leans in three directions isn’t the same afternoon’s work as one floating shelf.
That’s usually the point homeowners planning sitting rooms bring someone in, not because the shelf itself is hard, but because a flush, built-in finish across a whole wall takes a level of practice most people only pick up once.
